When to Say Goodbye
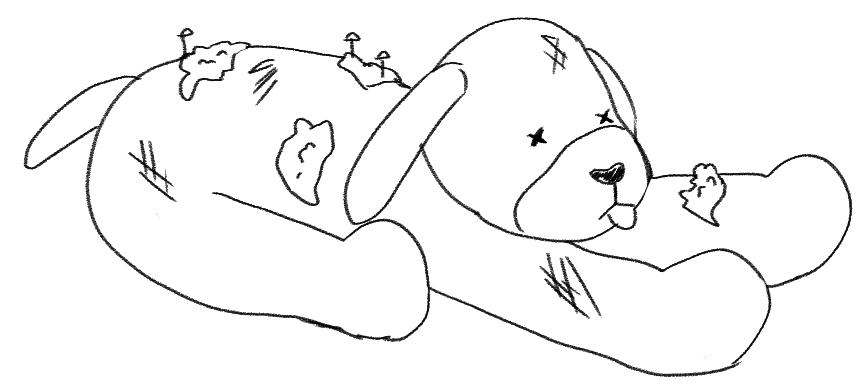
Not all webkinz can be saved. There will come a time when you recieve a plush that is incredibly damaged, and its at this point you'll need to know if the repairs are worth the effort.
For starters, never attempt to remove mold from a webkinz without first removing and disposing of all stuffing and pellets from its inside. You also will likely need to use rather harsh chemicals, including bleach, to fully kill off any mold spores. These will almost certainly damage the fabric, especially if your webkinz is made of faux fur or minky fabric.
If you recieve a webkinz that has bed bugs or some other insect, ensure that all insects inside are fully dead prior to washing. Again, you will need to remove the stuffing and pellets to ensure a proper clean. You may also have to wash the plush in boiling water, something that will damage any faux fur or minky fabric webkinz.
What type of damage makes a webkinz beyond repair?
When in doubt, do some research on how easily a type of stain can be removed prior to any washing. Here's a few quick examples to help get you started:
| Yes you can fix this! | Multiple washes needed! | Do not wash! |
|---|---|---|
| Soil/Dirt | Smoke Damage | Mold |
| Large holes | Marker Stains | Mushroom growth |
Do's and Don't's
Never use hot water when washing a webkinz. The heat from the water can and will damage the fabric.
Step 1: Repair Any Large Holes
We don't want any stuffing or pellets to escape during the washing process. Even a few temporary stitches will save you the headache of having to restuff your webkinz mid wash.
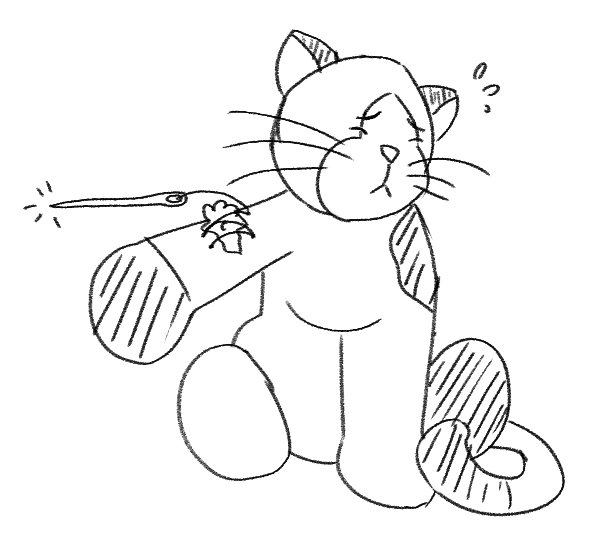
I've found that a ladder stitch works best for most repairs, since it hides the seams extremely well! A standard straight stitch is also good for connecting parts back to the plush (such as fixing a missing limb).
If you need to fully restuff your webkinz, I advice waiting until after you finish washing and drying your plush before you restuff. A small bit of restuffing is fine, but if you are restuffing an area larger than a limb wait until after the wash.
Step 2: Presoak as Needed
If your webkinz is dirty enough, they may require a pre-soak prior to a proper wash.
Fill a small tub or sink with water and a small about (around a tablespoon or two per webkinz) of laundry detergent. Mix to ensure the detergent is distributed evenly in the water. Then, press the webkinz into the water. Repeat until the webkinz is thoroughly soaked. Then, let the webkinz sit in the mixture for 20 to 30 minutes. You may need to let your webkinz sit longer if there is more than one.
After they've sat, remove the webkinz from the water and squeeze out liquid until it no longer drips with water. Assess the current dirtiness of the webkinz. If another pre-soak is needed, dump the current water mixture, make a new one, and repeat the previous steps.
What about spot-checking?
If there is a small stain that requires additional attention, this is the time to fix it. Spot checking is done just like you would for clothes, using your preferred spot-checking spray/tool/detergent. I personally like to use shout and scrub the stain with an old toothbrush and rinse under cold water.Step 3: Wash on a Delicate Cycle in Cold Water
If you have a mesh bag to place your webkinz in, do so! This will help prevent the eyes and nose from getting damaged in the machine.
You should never wash a webkinz in hot water as the extreme temperature of the water can and will melt the plastic that the faux fur is made of.
Step 4: Air dry your webkinz in a dry, well ventilated, sunny place.
Make sure you place your webkinz somewhere that provides as little risk for mold to grow as possible. A cold, wet enviornment is one that mold thrives in. Having good circulation ensures that the webkinz will dry evenly, and keeping the temperature around 70 degrees F will prevent mold growth.
Do not use a drier to dry your webkinz. The heat from a drier will melt the plastic that the fabric is made of and cause drier burn.